Followers

Thursday 30 October 2014

Am Off to Crisis 2014 in the Morning

Just a last quick blog entry before I try and get a few hours sleep before setting off towards Antwerp for their annual wargames show CRISIS.

http://www.tsoa.be/crisis_general.html

I'll be flying out Edinburgh International at 6 am so I expect to be exhausted before I get there.

Here's the queue from last year. I hope it will be drier this year.


My club, SESWC, put on a pre-release demonstration of THE RAIDERS which was a supplement to the popular DUX BRITTANIARUM by the Two Fat Lardies.


Here are the 'untamed wild men' ...


Oops, sorry, here are the 'untamed wild men' ...


This small table was the scene of many a cattle raid amidst a swishing of kilts (or maybe it was the broadswords swishing).


I had a look around the show for some TRAINS (but only found the tracks);


And BOATS;


And PLANES;


All in all, Crisis is a great show, you really need to be there to appreciate it, the TSA guys would like you to be there.


Wednesday 22 October 2014

A Ruined Ruined Church

I picked up a joblot of bits and pieces the other day. There was a Ruined Church in amongst it and I thought it would be an easy job to tart it up and make it presentable. (I was feeling optimistic at the time).

Here, have look, it's got potential hasn't it?


The pieces were made of a material not unlike Plaster of Paris. It was a bit crumbly and dusty so I gave it a coat (actually three) of acrylic varnish to seal the surface.

Look more closely at the brickwork. You can see where a previous owner has destroyed the brick pattern and has perhaps tried to cover it up with flock. I have scraped away the flock, which was bio-degrading and patched up the bricks with a veneer of Milliput.* Even then I have squished it a bit inadvertently, I'll fix that later.


The building came in three parts and I had to pin and glue them as I thought that the joins would be stronger that way. The joining surfaces did not meet very well so I filled the residual gaps with more Milliput.


This is a bad join, quite wide, and has been filed at an angle in its history. I have pinned this joint too, you can see the glue, a mixture of impact adhesive and super glue gel. I added a wedge of milliput through which one of the pins passes. I'll fill the gap later with more Milliput and add brickwork detail.


This angled shot shows the increasing width of the gap. I think the previous owner was a dab hand with a file but knew nothing about right angles and perpendicular and all that.


This arched window is a bit peculiar on the inside, I may do something about that.


The end wall is pretty well clear of paint, has it been stripped I wonder? The stonework pattern is fairly irregular but maybe that will add character to the church once it is finished.


Now, to finish on a positive note: here is the Warbases bridge mentioned in my last post. I have textured the roadway, painted it and added a few tufts.

What do you think?


* Milliput is a two part epoxy putty and is available world-wide.

http://www.milliput.com/

Sunday 19 October 2014

A Bridge - Not Too Far Away

I recently had a need to travel up North for a quick visit to the Inverness area. The route I took followed the line of General Wade's Military Roads for much of the way.

http://en.wikipedia.org/wiki/Old_military_roads_of_Scotland

Here you can see the modern road following the military road to the northeast. Loch Ness is just out of sight behind the hills on the left. My car is pointing the wrong way as I took this snap on the way home to Lowland Scotland.


I won't slip into my Nationalistic mode at the moment but I did take this snap on my way North.


My trip included some spare time so I nipped into the local hostelry and had a pleasant time drinking with the locals, a couple of farmers, two handymen, a forester, an engineer from Glasgow (his accent gave him away), a passing lycra clad cyclist who murdered two pints of diet coke before pedalling off and a bunch of walking German tourists, and the barman who told me a wee bit of local history.


The hotel was called the Whitebridge Hotel which was built on the site of a 'king's house' used by the soldiers who built the military roads.

"Whitebridge is a long established Highland Hotel, built in 1899 on the site of a King's House which was destroyed by fire some years before. A King's House was a hostelry used by the soldiers while in a specific area. This King's House was used by the soldiers of General Wade while they were stationed in the Highlands. Building roads was one of the troops duties, and you can still see the original bridge built here in the 18th Century."

http://www.whitebridgehotel.co.uk/hotel.html

The bridge referred to still exists, here it is in all its glory.


The bridge crosses the River Fechlin which eventually feeds into Loch Ness at Foyers. The advantage of crossing at the bridge rather than fording the river in its steep little valley is obvious. However the following picture shows the possibilities for an ambush as the way across is very narrow, no more than 3 or 4 men wide.


Speaking of bridges, I bought one yesterday.


As you can see it is an MDF offering from Warbases. I choose the single arch option as it is an experimental purchase. They have a two span and a three span option too.

http://war-bases.co.uk/

It is a multi-part kit and is very easy to put together using white glue (PVA) and a couple of elastic bands.


Some of the joins are a bit obvious (the bane of MDF kits) but a decent modeller will soon solve that little problem. An 'old school' player will have no problem with it as it is, perhaps with  a touch of paint.


I hope to use this bridge with my 12mm Napoleonics. My bases are 40mm wide and you can see that they fit the bridge nicely.


The bridge also neatly fits an Hexon II tile which is 100mm across the flats.


In Heroscape terms it is one whole tile and one half tile each side wide.


This shot shows the possibilities of matching the bridge to a narrow gully using multiple layers of Heroscape tiles.


Watch this space for further developments.


Thursday 16 October 2014

Work In Progress - 12mm Napoleonics - 2 Months On

Slow but steady progress is being made as, hopefully these photographs will show. Most bases are finished with tufts in place. I may add a few more tufts in due course, maybe some static grass too.

Some late hard landscaping in my garden and also preparation for an upcoming show has added a lot of clutter to my recently cleared table top. Never mind, it will soon be too cold and windy and wet outside to get much more done this year so some of the clutter will disappear shortly.

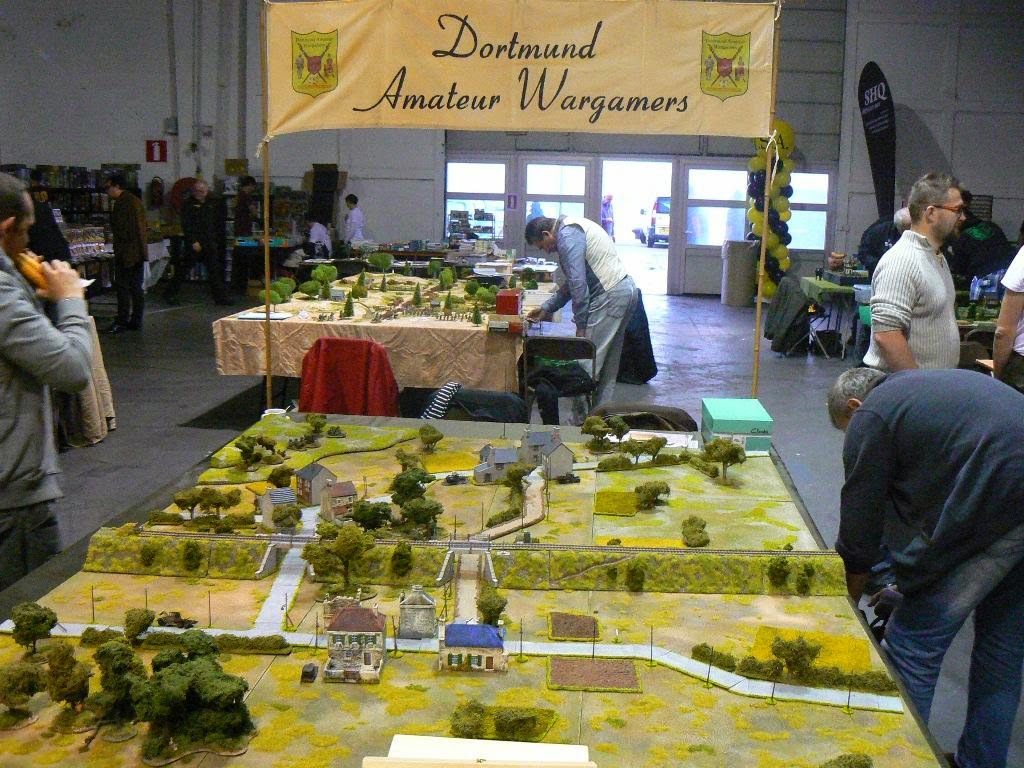
This is the current scene.


An understrength French army ready to go.


Light Infantry


A Grand Battery


More Light Infantry


Line Infantry


The Commander, anyone recognise him?


Dragoons


More Line Infantry


Facing them, the Anglo-Portuguese.


A couple of Foot Artillery batteries.


Rifles


Regular Light Infantry


Some more Foot Artillery


Light Dragoons on the Left Flank


A 'thin red line' awaits events


Light Dragoons on the Right Flank


The Commander 'noses' about


Portuguese Light Infantry - Cacadores - recently raised


Portuguese Line Infantry - fresh off their painting sticks


Five units, 3 British, 2 French waiting on their bases drying. I use Windsor & Newton inks to shade my bases. I like to let them dry for a couple of days as a varnish will lift any ink that is not completely dry.


More Portuguese Line Infantry - just about ready


French reinforcements - coming soon - 2 Wurzburg and 1 Grenadier


So, there you are, as up-to-date as I can make it.

I have a show up North this weekend and another show in Belgium the following weekend, maybe I'll get a game in thereafter.

Hope so!